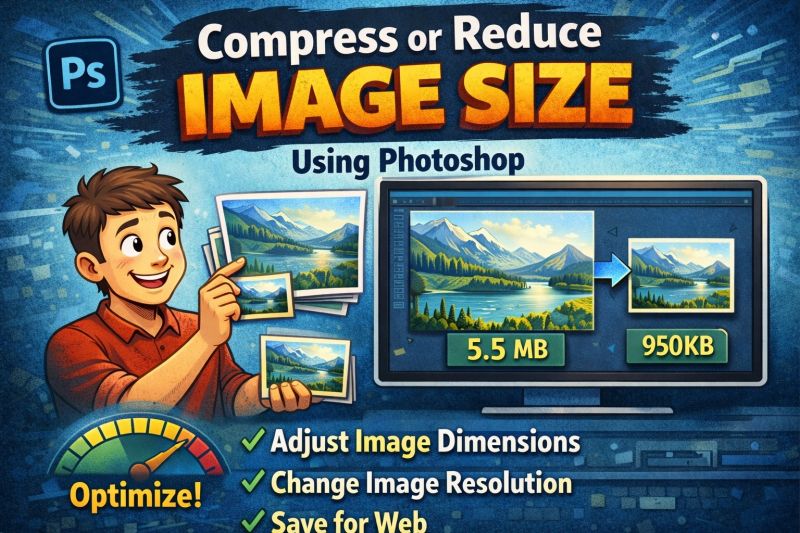
Sometimes image files are just way too large—whether for websites, emails, online forms, or social media uploads. The best solution is to compress the image so the file size becomes smaller without destroying quality.
There are many ways to compress images. You can use online tools like TinyPNG or TinyJPG, or you can use software such as Adobe Photoshop, which actually already has a powerful built-in image compression feature.
Yup, Photoshop is not only for editing photos, but it also provides excellent tools to compress JPG, PNG, and GIF files with great quality. You do not need any extra compression apps. Simply use the Save for Web (Legacy) feature and you are good to go.
Let’s learn how.
How to Compress JPG in Photoshop
Follow these steps to reduce JPG file size without losing too much quality:
- Open Adobe Photoshop
- Import the image you want to compress
- Go to File → Export → Save for Web (Legacy)
- Choose preset: JPG Medium
- Set Quality value around 50 (adjust if needed)
- Adjust resolution percentage if the image resolution is too large
This method helps maintain good visual quality while significantly reducing file size.
How to Compress PNG in Photoshop
PNG files are usually larger because they maintain high quality and transparency. Here’s how to reduce them:
- Open Adobe Photoshop
- Import the PNG image
- Go to File → Export → Save for Web (Legacy)
- Choose preset: PNG-8 Dither
- Set Dither to 100% to avoid weird color artifacts
- Adjust Colors to 128 or 64 depending on quality needed
- Try changing Diffusion settings if required
- Reduce resolution if the image is too large
This helps make PNG lighter while still keeping it clean and sharp.
How to Reduce GIF File Size in Photoshop
GIF files are often used for animations or simple graphics and can become quite large. Here’s how to shrink them:
- Open Adobe Photoshop
- Import the GIF file
- Go to File → Export → Save for Web (Legacy)
- Choose preset: GIF 64 Dithered
- Set Dither to 100%
- Adjust Colors to 64 or 32
- Try tweaking Web Snap (around 40%)
- Adjust Lossy (around 20–30)
- Reduce resolution if needed
Done correctly, your GIF will still look good but with a much smaller file size.
How to Compress Multiple Images at Once (Batch Compress)
If you want to compress many JPG, PNG, or GIF files at the same time, Photoshop also supports batch processing using Actions + Automate Batch.
Here’s how:
- Go to Window → Actions (ALT + F9)
- An Actions panel will appear
- Click the folder icon to create a new Action Set → name it BULK COMPRESS
- Click New Action → name it Compress
- Press the red Record button
- Perform any of the compression processes explained above
- Press Stop when finished
- Now go to File → Automate → Batch
- Select the folder containing images you want to compress
- Run it—and Photoshop will compress everything automatically
Super easy and super useful.
Final Thoughts
Photoshop offers powerful tools to compress JPG, PNG, and GIF files without killing the quality. Whether you are optimizing images for websites, blogs, social media, or documents, this method is practical, efficient, and reliable.
If you have any questions or want more Photoshop tutorials, feel free to drop a comment.
Happy editing!